The first step is to set up a telescope. For this tutorial we will use the Telescope Simulator. Activate the Telescope using View menu Observatory Control Window.
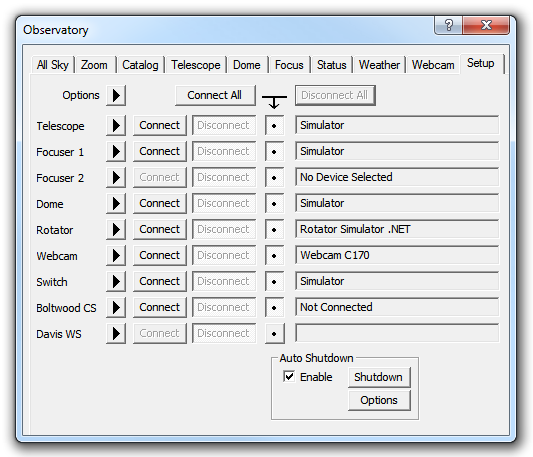
On the Setup tab, under Telescope, click the Options button and select Choose. Use the chooser to select Telescope Simulator. If this is the first time you have selected the simulator you may need to click Properties and configure the simulator. Click OK to return to the Setup tab and then click Connect.
The Scope Simulator display may appear. Move this to a convenient place on the screen.
Switch to the Telescope tab.
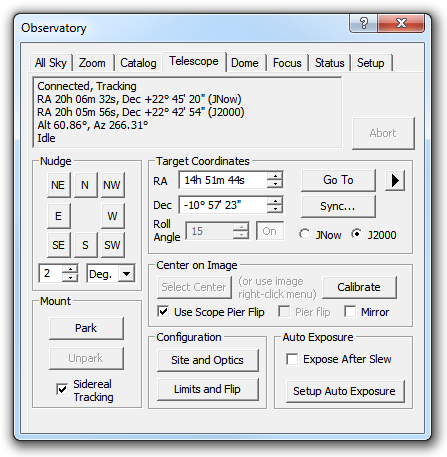
Click Limits and Flip button. Make sure that none of the check boxes are set, and that Tracking is set to No Restrictions.
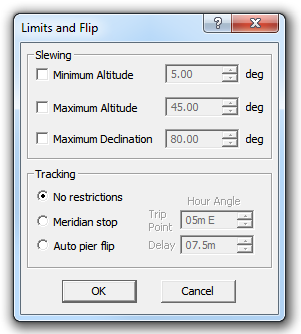
Under Mount, make sure Sidereal Tracking is checked.
Click a Nudge button to move the telescope in one of the eight available directions. You will see the telescope position change. You can set the distance moved with each nudge.
After a nudge or move, if the Take image check box is on, the Camera Control window will also be activated to take a picture of the region of the sky. (If the camera simulator is selected, you will get the test pattern). You can set up exposure settings for these images using the Exposure button. Usually this is just set to a quick binned exposure so you can tell whether the telescope is on target.
Click the Site button, and make sure you have configured the geographical location for the observatory. You can also set up the telescope parameters such as focal length, which is useful later on.
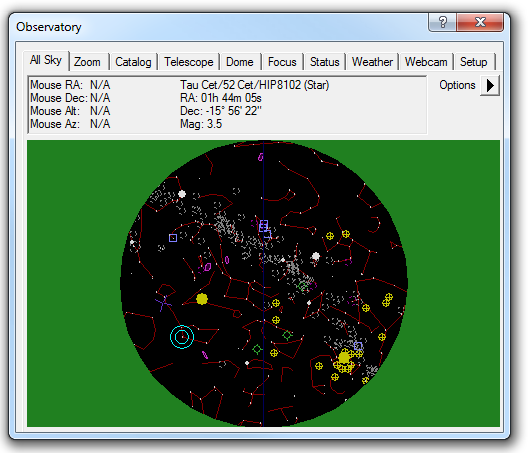
Switch to the All Sky tab. The sky will be shown as it currently appears. A circular cursor will indicate the position of the telescope. You can move the telescope anywhere in the sky by pointing at the sky and using the right-click menu Slew To Mouse Position command. You can also zoom in by selecting Zoom To Mouse Position, which will switch you to the Zoom tab.
In the Zoom tab you can move the sky display by dragging with the mouse. You can zoom in and out using the mouse wheel or right-click menu. The Observatory Control window is resizable by dragging the lower right corner with the mouse, so you can get a bigger sky display if you so wish.
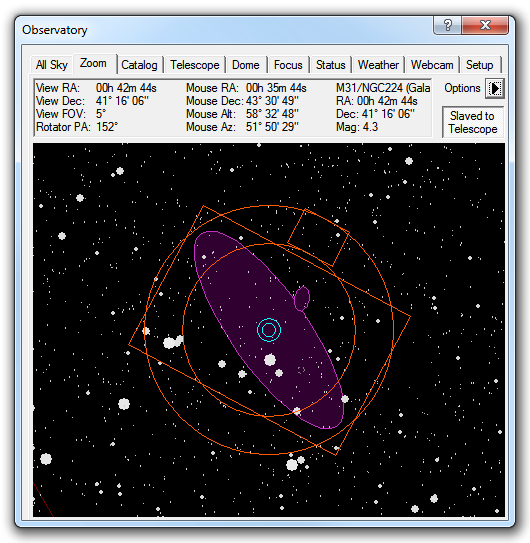
Right-click and select FOV Indicators. Click the New button to add a Field of View indicator.
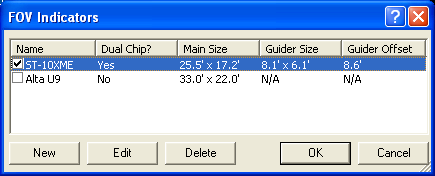
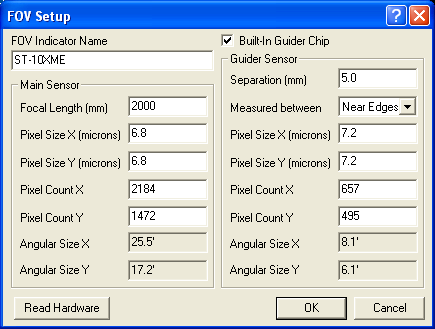
Type an FOV Indicator Name. If your camera has one, turn on Built-In Guider Chip and enter the Offset. If your camera is connected, click the Read Hardware button to load the fields; otherwise you will have to enter the values from the camera manual. Click OK.
Now set the Check Box beside the name of your FOV indicator, and it will appear on the Zoom Tab display. You can orient the FOV indicator by grabbing it with the mouse and rotating it. If you have an instrument rotator attached, the rotator will turn to match.
Now switch to the Catalog tab.
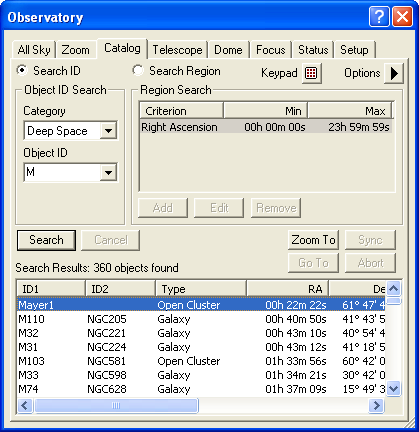
Set Category to Deep Space, and click the Object ID drop-down list arrow. Pick M and type 3 in the Object Name. All Messier objects starting with M3 will be displayed.
You can sort the list by any field by clicking on the title bar. You may wish to resize the window, in order to better see all the fields in the search list. You can also control and sort the columns using the right-click menu.
Click on an object and select Go To to slew the telescope, or Zoom To to display it on the Zoom tab.